Condasiderations for Reproducibility
The ability to accurately replicate results is undoubtedly the most important aspect of any type of research, including data science. In scientific computing, the two main factors that must be correctly controlled in order to guarantee reproducibility are:
- the code that is run
- the software used to run it
Given that everyone reading this will have read my version control with Git series, running and sharing the correct version of code in data science projects shouldn’t be an issue 😉. The computing environment is an equally important consideration. If software is incorrectly managed, programs can cease working correctly or entirely, analyses can become irreplicable, and variable results will invariably lead people to reach different conclusions regarding the reliability of a program, analysis, study etc. This is where Conda comes in.
 Confused about Conda? Look no further…
Conda is an open-source, cross-platform package and environment management system that allows users to easily find, install, deploy and manage the software tools, packages and libraries they require for scientific computing tasks. It also allows users to configure, compartmentalise and manage multiple computing environments on one system, thereby enhancing versatility, avoiding software and dependency conflicts, and making analytical workflows reproducible.
Conda itself is written in the Python programming language, but boasts package, dependency and environment management for numerous languages, including Python, R, Ruby, Scala, Java, C and C++, BASh, and Fortran to name a few. It is also capable of handling multi-language projects.
In my previous post, I described how to setup your computer ready for data science and bioinformatic tasks using the shell command-line. This post is a quasi-continuation of the that post and will focus on how to finalise your system preparation by installing and configuring Conda.
Bigger Isn’t Always Better
Anaconda is a distribution of Python and R for data science that contains within it the Conda package and environment management system. Anaconda comes with a desktop graphical user interface (GUI) called Anaconda Navigator but can also be used through either the Anaconda Prompt command-line interface (CLI) or Terminal on MacOS and Linux. Anaconda comes with over 250 packages automatically installed, meaning that the minimum amount of disk space required for a basic installation is 2GB. That’s before you start adding your own packages and libraries. A bit too bloated and over-featured for my liking. So, what’s the alternative?
Miniconda is a free, lightweight, bootstrap version of Anaconda that includes only Conda and Python, the packages they depend on, and a small number of other useful packages. Miniconda doesn’t come with a GUI by default, which means more command-line capers. The other good news is that Miniconda has access to all 7500+ open-source packages available to Anaconda. That means you can install a completely bespoke set of packages tailored to your exact needs and save disk space in the process.
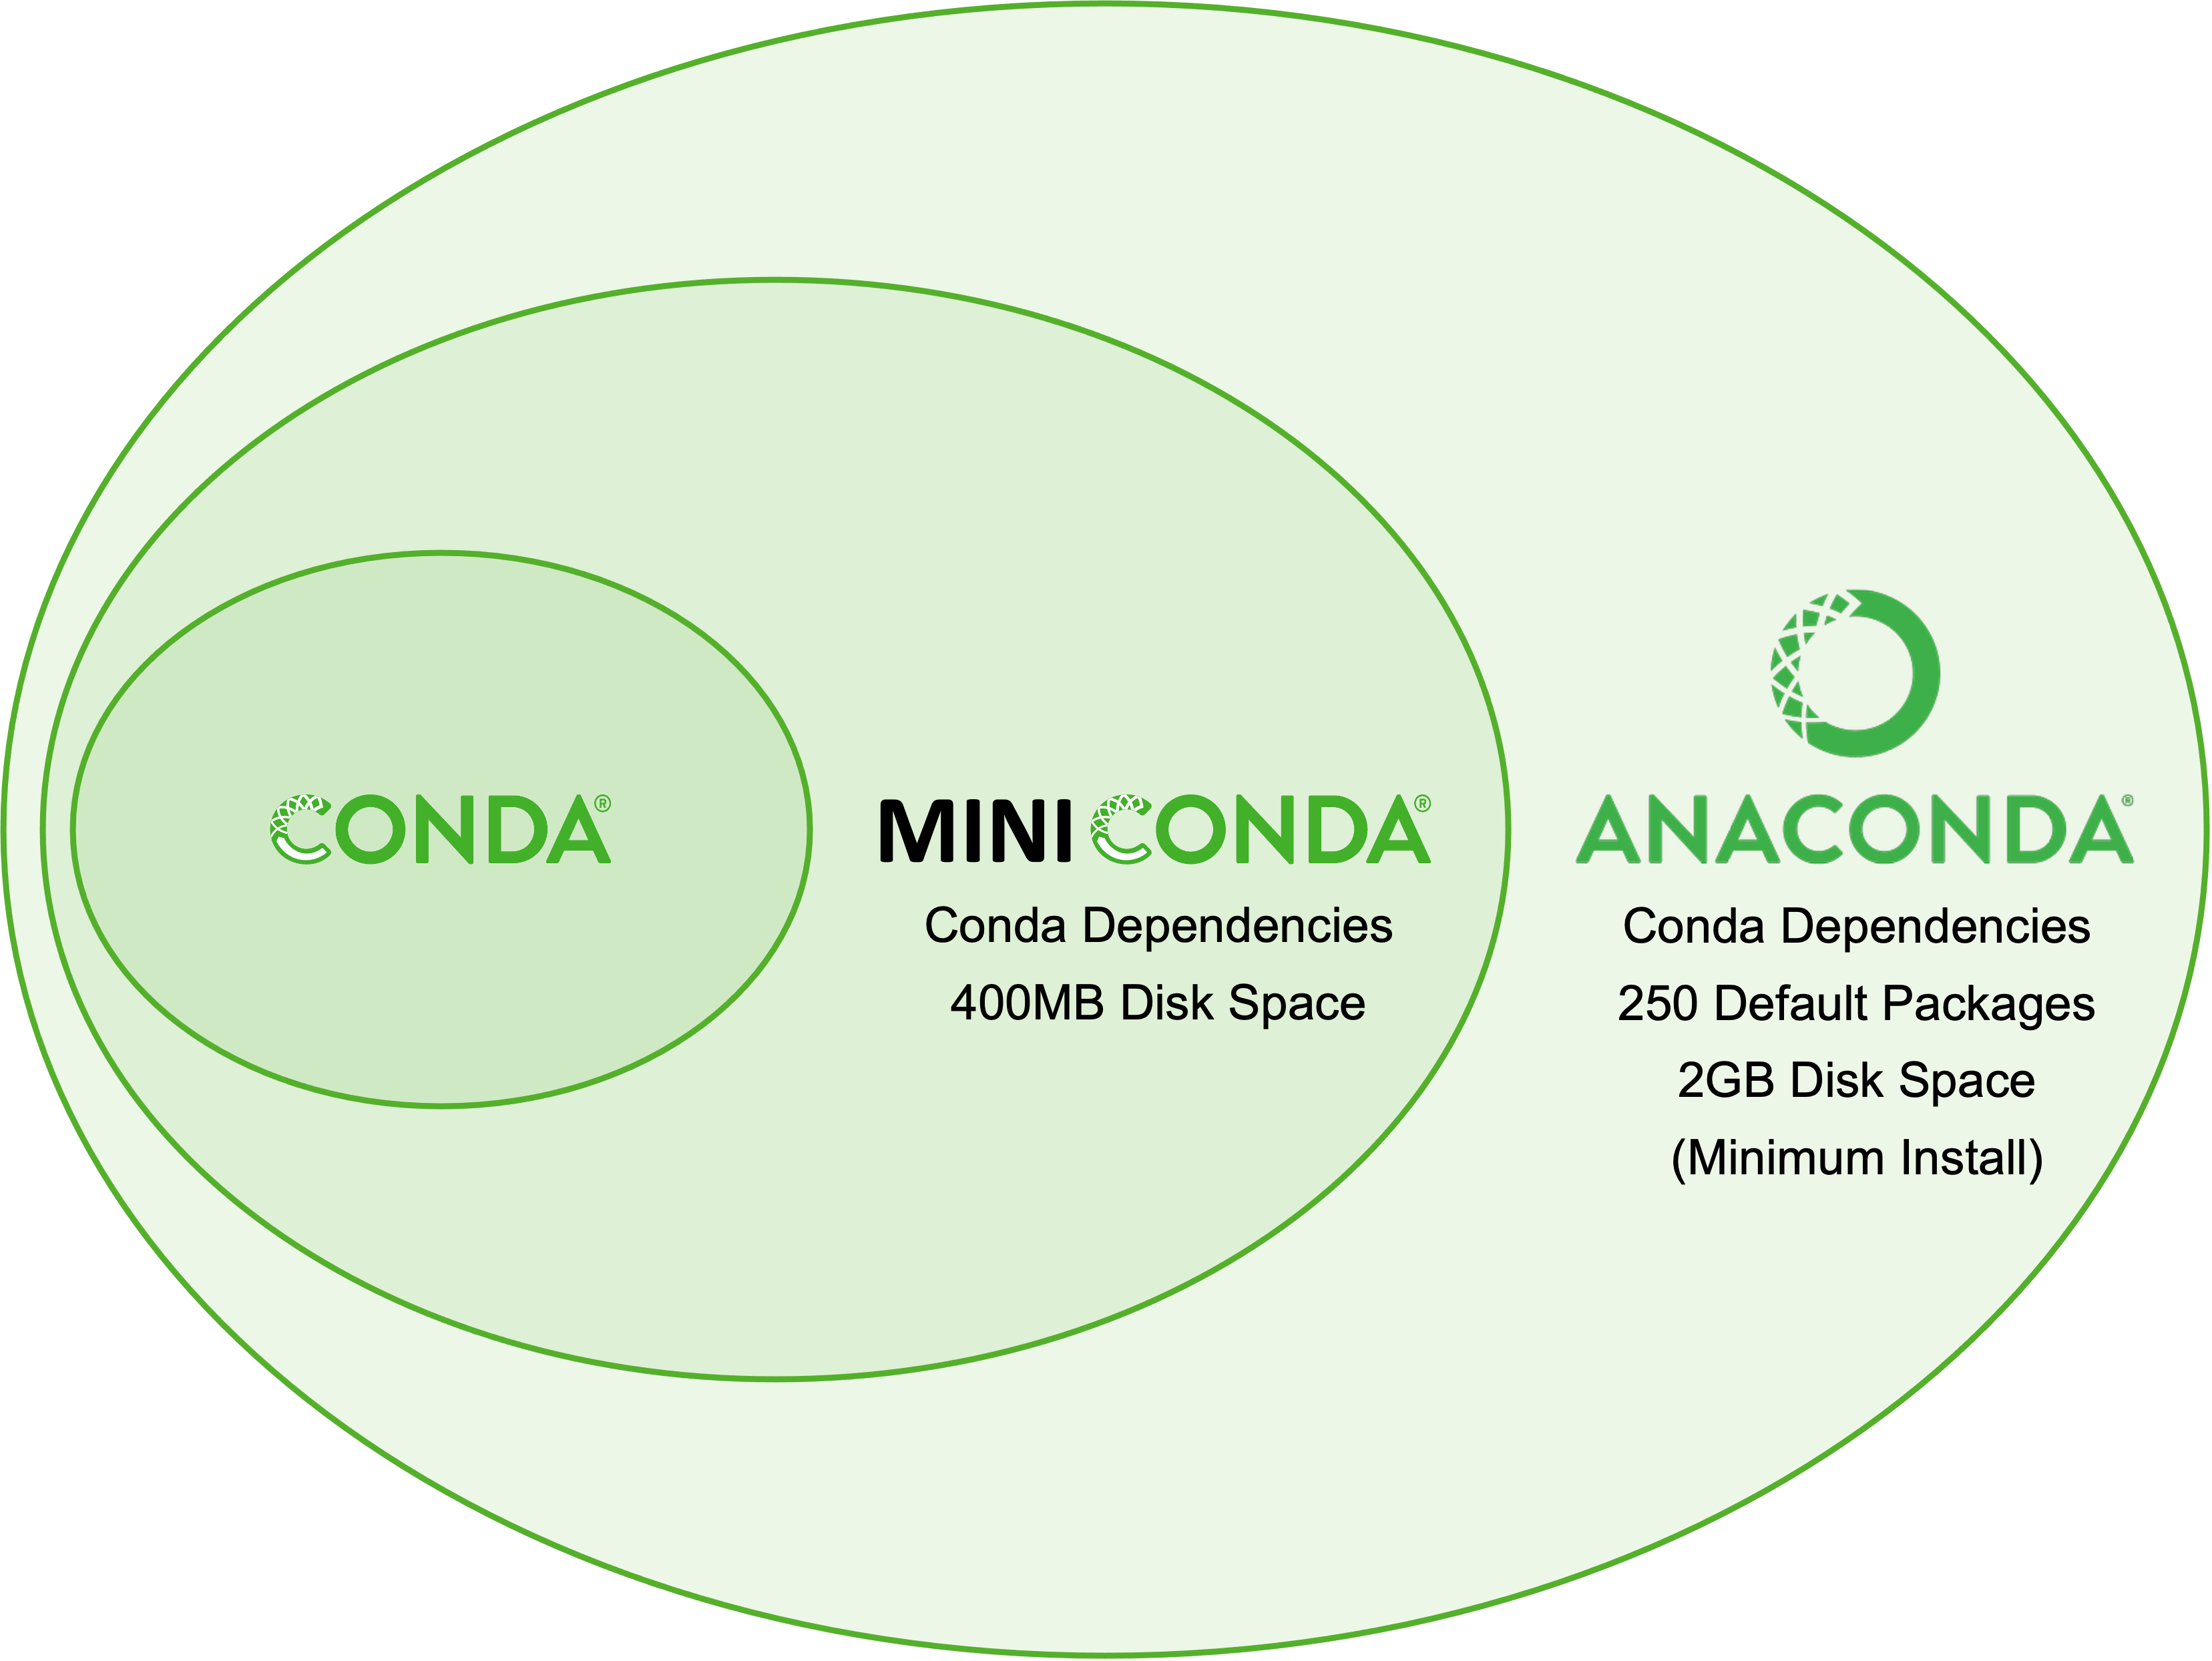
The Conda package and environment management program is at the core of both Miniconda and Anaconda
We are going to install the latest version of Miniconda before moving on to see how we can configure the remote software repositories known a channels that are used by Conda.
Install Miniconda
The links to the latest system-specific version of the Miniconda installer are shown below. Copy the appropriate single link into the Terminal command-line and press “Return”.
# MacOS - Intel Processor
URL="https://repo.anaconda.com/miniconda/Miniconda3-latest-MacOSX-x86_64.sh"

# MacOS - Apple Silicon Processor
URL="https://repo.anaconda.com/miniconda/Miniconda3-latest-MacOSX-arm64.sh"

# Linux
URL="https://repo.anaconda.com/miniconda/Miniconda3-latest-Linux-x86_64.sh"
Next, copy and paste the following commands into the Terminal to download the installer and run it:
# download the installer
curl $URL > miniconda_installer.sh

# run the installer
bash miniconda_installer.sh
Upon executing the second command you will be prompted to read the license agreement. Press “Return” to agree to do so. Then, either carefully read through line-by-line, switching page by hitting “Spacebar” until you reach the end, or completely ignore the specifics of the license agreement and quit immediately by pressing “Q”. Guilty. Either way, once you exit the license agreement pager you will be prompted by the following message:
Do you accept the license terms? [yes|no]
[no] >>>
Assuming that you do, type “yes” and hit “Return”. You will then immediately see this message:
Miniconda3 will now be installed into this location:
/Users/your_user_name/miniconda3

  - Press ENTER to confirm the location
  - Press CTRL-C to abort the installation
  - Or specify a different location below

[/Users/your_user_name/miniconda3] >>>
Feel free to install Miniconda into another directory by pasting or typing a custom path at the prompt. I choose to install it in my home directory (default) by simply hitting “Return” and then later make the miniconda3 directory hidden after installation is complete. I will show you how to do this second task shortly. Wherever you choose to install Conda, the installer will run as soon as you hit “Return”. Eventually it will finish and you will see the following message:
Do you wish the installer to initialize Miniconda3
by running conda init? [yes|no]
[yes] >>>
Type “yes” and hit “Return” once more. You should now close and reopen your Terminal. Upon re-opening Terminal, you will be greeted with your usual prompt but your username, assuming you have a similar PS1 as mine after following the last post, will be preceded by “ (base) “ as shown below:
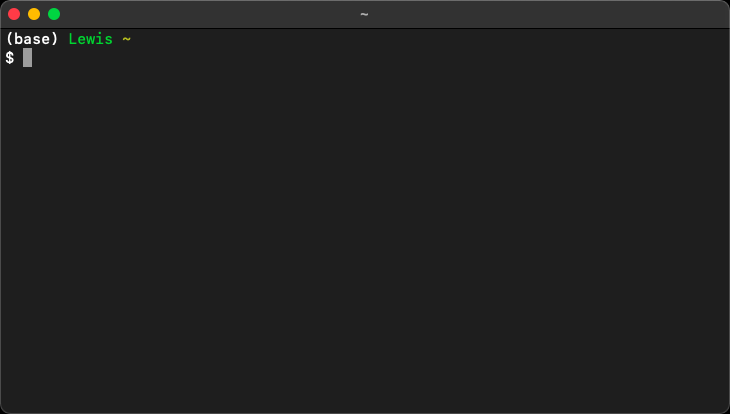
The reason for this modified prompt is that Conda autoactivates the default (base) environment that was created during installation. Personally, I modify this default behaviour so that I can activate Conda with a specific environment as and when I want to. That way, I don’t have to deactivate the base environment if I don’t need Conda active or have to do this after I finish working in another environment. You can deactivate and further prevent autoactivation of the base environment by entering the following:
# deactivate the base environment
conda deactivate

# modify configuration to prevent base environment autoactivation
conda config --set auto_activate_base false
The final (optional) thing to do at this point is to hide the miniconda3 directory that is now located at the terminus of your install path; for me this is my home directory e.g. /Users/Lewis/miniconda3. To do this, run the command below after replacing the example path with the location of your miniconda3 folder. An easy way to do this is type chflags hidden and then drag and drop the miniconda3 directory onto the Terminal window.
# make miniconda3 folder hidden
chflags hidden /path/to/miniconda3
To reverse this process at any point, or indeed to unhide another file, you can use the chflags nohidden command in the same way as I have just described to hide a file. To toggle showing hidden files or folders in your directory browser you can use the “Cmd + Shift + .” shortcut on a Mac or “Ctrl + H” on Linux.
That’s Miniconda installed. Let’s now quickly look at keeping it up to date.
Updating Conda
The Miniconda installer package that you downloaded might not actually have installed the most up-to-date version of Conda. Checking the installed version of the Conda package itself and updating it to the latest version can be done using the following commands:
# check the version of conda installed
conda --version

# update the conda package to the latest version
conda update conda
If a new version is available, you will be prompted to proceed with installation of an update. It is probably a good idea to check for an updated version of Conda every few months as a bare minimum.
Now that Conda is installed and completely up to date, the last thing I want to cover in this post is how to configure Conda channels.
Condafiguring Channels
Channels are essentially URLs that link to directories located in remote repositories that serve as the base for hosting and managing the software packages used within Conda. When instructed to install or update software packages (topics that will be covered in the next post), Conda searches the channels defined either within the command itself or within the channel list defined in the configuration.
By default, a single channel is specified in the Conda configuration that downloads packages from https://repo.anaconda.com/pkgs/ but we can easily add new channels and stipulate rules for how Conda uses them. More on this shortly.
Here, I am going to show you how to add two new channels to the Conda configuration. The first of these is Bioconda, a channel specialising in bioinformatics software. The second channel we are going to add is Conda-Forge, a community channel that is analogous to the Python Package Index (PyPI) but with a unified, automated build infrastructure and a more stringent peer-review process.
To add these channels to the Conda configuration in order, run the following commands:
# add the bioconda channel to conda configuration
conda config --add channels bioconda

# add the conda-forge channel to conda configuration
conda config --add channels conda-forge
Should you wish to view the channels that are defined in the Conda configuration at any time, run the following:
# view channels
conda config --show channels
One important thing to note when adding channels is that multiple different channels can have the same package, so Conda must handle these channel collisions. The way Conda resolves these only matters when you have multiple channels in your list that host the same package.
By default, Conda prioritises packages from a higher priority channel over any version from a lower priority channel. Priority order is effectively specified by the order in which channels are added to the config file. To view the channel priority order and modify it at any time use the commands listed below:
# display channels and priority order
conda config --get channels

# remove channel_name from list of conda channels
conda config --remove channels channel_name

# add channel_name to top of list making it highest priority
conda config --prepend channels channel_name

# add channel_name to bottom of list making it lowest priority
conda config --append channels new_channel
In our case, we want package and dependency priority to be given to Conda-Forge and Bioconda over the default. These two channels seldom produce collisions, but if they do, the latest and greatest available on Conda-Forge will always be prioritised; this was the reason that we added the channels in the order that we did above.
Since v4.6.0, Conda has had a recommended strict channel priority feature which is soon to become an out-of-the-box default. With this feature active, packages in lower priority channels are not considered if a package with the same name appears in a higher priority channel. This can dramatically speed up Conda operations and reduce package and dependency incompatibility problems. To set this strict channel priority feature to active in the configuration run:
# set channel_priority to "strict"
conda config --set channel_priority strict
That’s about it for configuring Conda channels from me. You can read the Conda Managing Channels Docs pages to learn more about managing Conda channels and their behaviour.
Condaclusion
In this post, you have learned what Conda, Miniconda and Anaconda are and how they differ, as well as how to install Conda using the minimal installer Miniconda. I have shown you how to keep Conda updated and how to configure Conda channels. The next post in this two-part series will cover how to actually work with Conda, including all aspects of installing packages and their dependencies, and how to manage multiple dedicated virtual computing environments for data analysis. See you then.
Thanks for reading. I hope you enjoyed the article and that it helps you to get a job done more quickly or inspires you to further your data science journey. Please do let me know if there’s anything you want me to cover in future posts.
Happy Data Analysis!
Disclaimer: All views expressed on this site are exclusively my own and do not represent the opinions of any entity whatsoever with which I have been, am now or will be affiliated.